Hold a Microphone
This page walks through how to make your avatar hold a microphone (or any prop). It's useful when you want to give the avatar a prop for singing streams or other on-stream staging.
We'll use a GLTF Model to load a 3D model into the live scene and attach it to the avatar's hand.
This page uses a microphone model as an example, but you can follow the same steps with any GLB / GLTF format 3D model.
1. Download a Microphone Model
Prepare a microphone model in GLB / GLTF format that you like. As an example, you can use the following model distributed on Sketchfab.
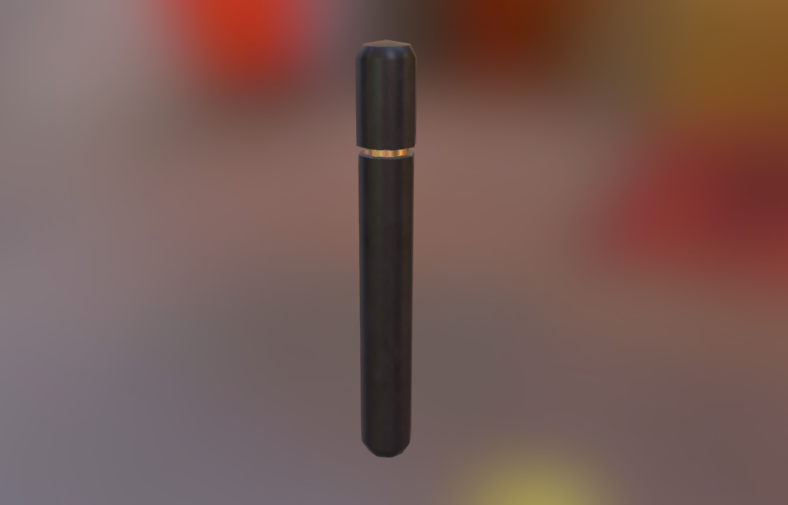
From the page, choose Download 3D Model → glb format.
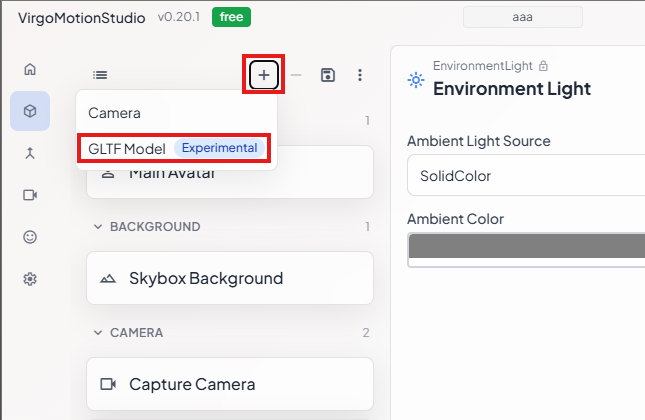
2. Add a GLTF Model to the Live Scene
In the live scene panel, press the + button and select GLTF Model to add one.
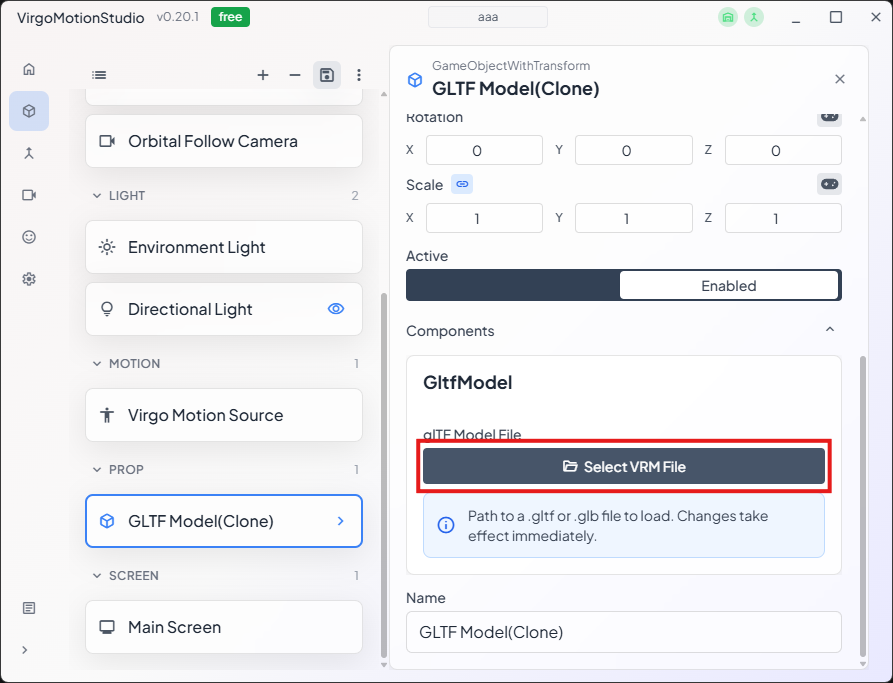
3. Load the Model File
From the properties of the GLTF Model you added, press the Load GLTF button and select the file you downloaded (.glb or .gltf) to load it.
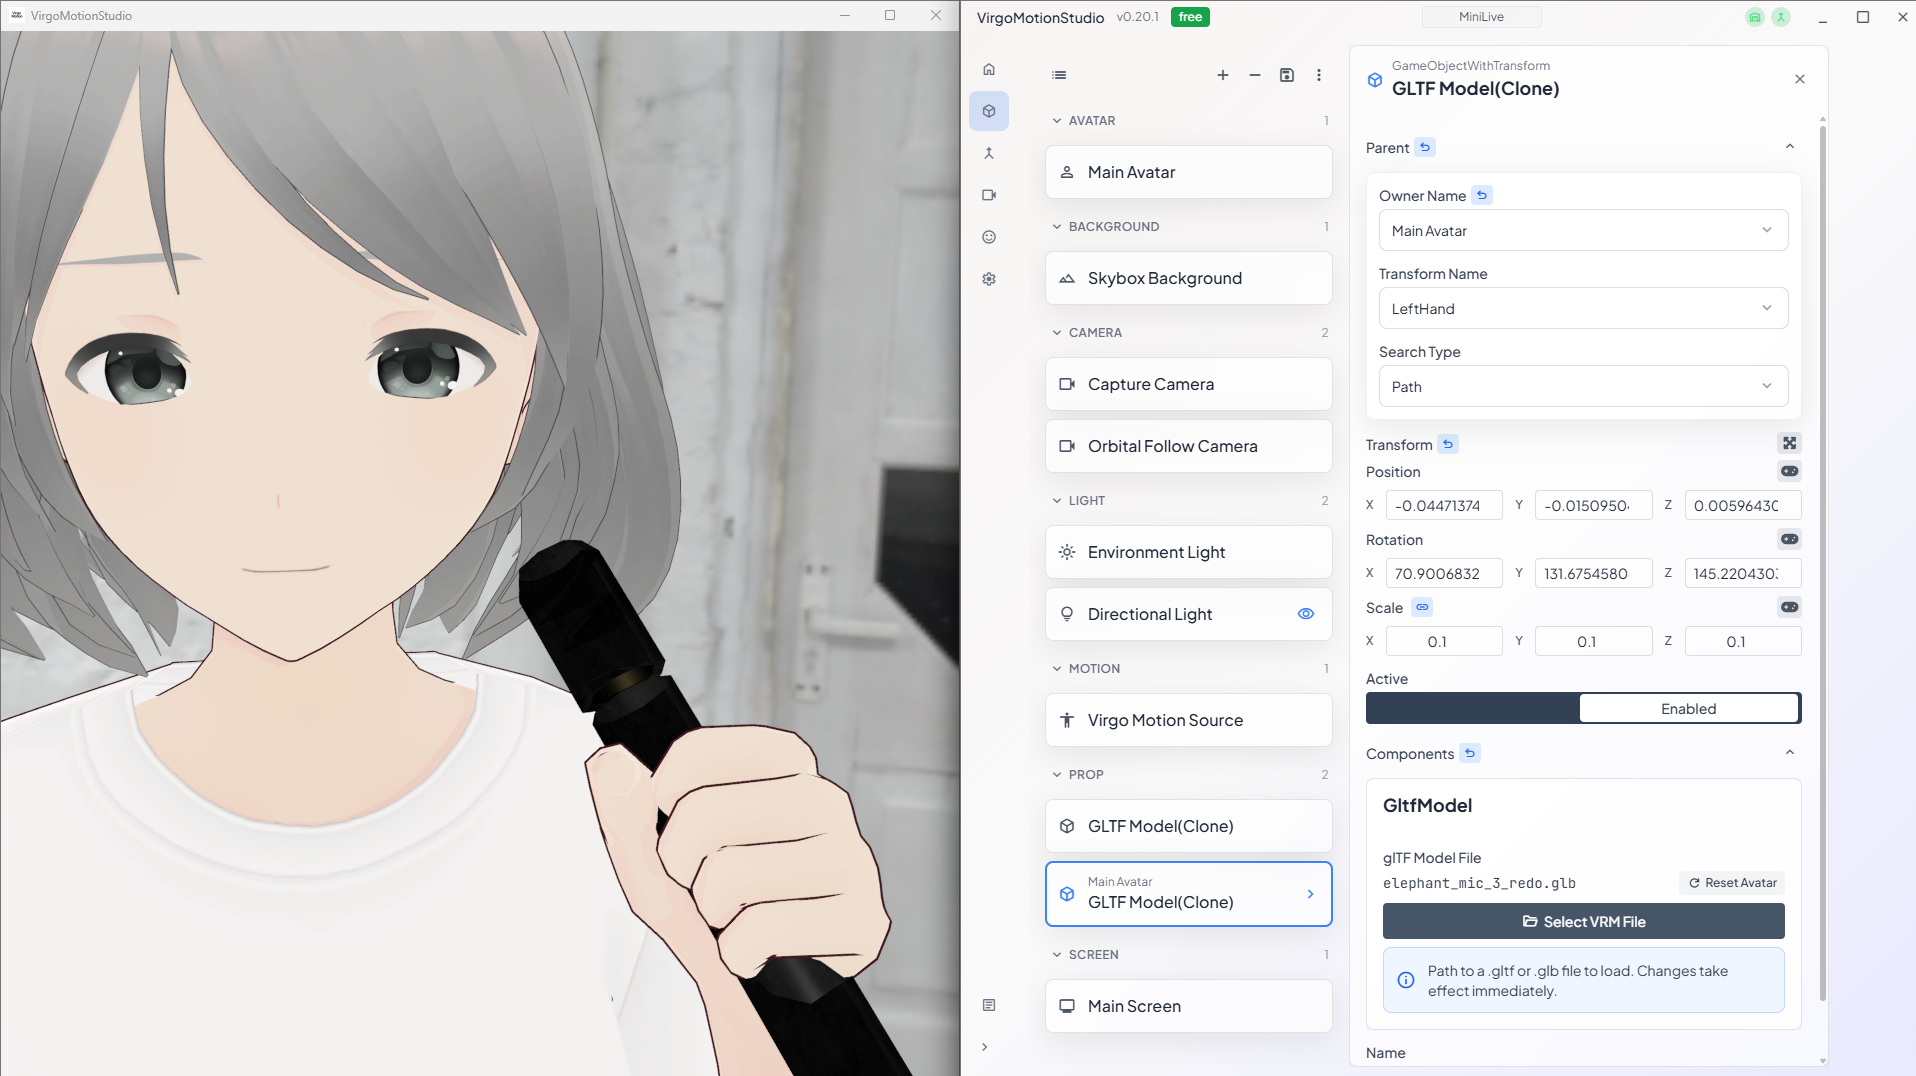
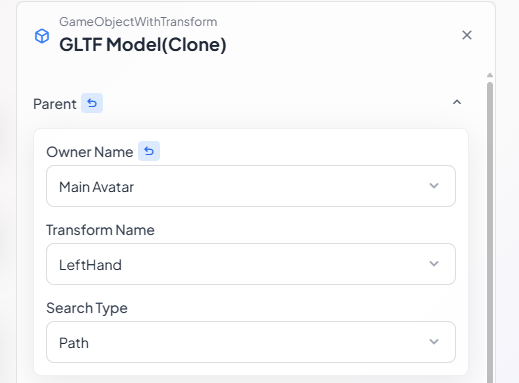
4. Attach to the Avatar's Hand
In the GLTF Model's attach settings, set the avatar's hand bone (right or left hand) as the target. The microphone will now follow the avatar's hand movement.
5. Adjust Position and Pose
After attaching, the model's orientation and position may not line up with the hand.
Open the transform editor by pressing the button next to the Transform property.
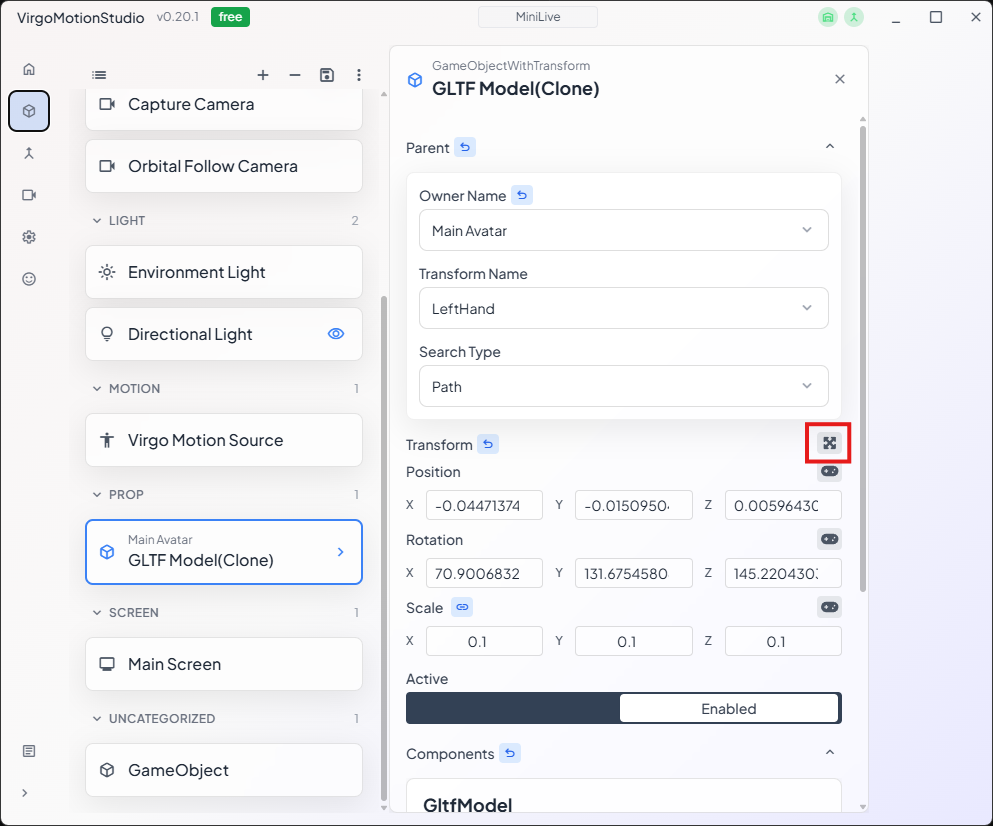
Adjust position / rotation / scale until it sits naturally in the hand.
If the avatar's movement makes it hard to adjust, disable Active on Virgo Motion Source. This stops the motion and makes adjustment easier.

Keyboard Shortcuts
| Key | Effect |
|---|---|
| W | Adjust position |
| E | Adjust rotation |
| R | Scale |
| F | Frame the selection |
6. Done
You're all set.
You can toggle the visibility with the Active button, so you can show the microphone only in specific live scenes during streaming if you like.